


Rolling trays are essential for keeping your weed in one secure location. Making a DIY rolling tray for joints, blunts, and more is the perfect opportunity to customize your smoking accessories to match your vibe. Simply choose a design, gather your (very few) supplies, and set off on a journey of stoner artistry.
Consider this article the ultimate guide to the rolling tray. Use this guide to learn what you need for a DIY rolling tray, what household items can be used to roll up, and what essential supplies should go in your rolling tray kit.
What do you need to make a DIY rolling tray?
Making a DIY rolling tray can look a number of different ways. Before embarking on this journey, decide what material you want your tray to be made out of and what design fits your vision.
Resin
Using epoxy resin and a rolling tray mold, you can make a completely customizable DIY rolling tray. Epoxy resin and silicone molds can be purchased from craft stores as well as online. Making a resin tray gives you total customizability, meaning you can adjust size and design to reflect your needs. As the resin sets, you can throw in anything from glitter and colorants to fun shapes and add-ins, resulting in a rolling tray completely unique to your personality. Though these trays can be relatively difficult to clean, they add flair to your smoke set-up and give you the satisfaction of creating something with your bare hands.
Metal
Metal trays in various sizes can be purchased from any dollar store. After purchasing a tray, you can use a number of supplies to customize it to your liking. Commonly, many start with a coat of non-toxic spray paint and epoxy resin. This base layer gives a smooth surface to add any design, whether using Modge Podge or transfer paper. Adding a top coat of epoxy resin will seal in your design and ensure your tray lasts as long as possible.
Wood
The process for making a wooden rolling tray is very similar to the process for making a metal tray. After purchasing a small wooden tray from the dollar store or craft store, follow the same steps as above. This time, adding epoxy resin is essential for a functional tray: without it, dry flower can get stuck in the grains of the unfinished wood. Sealing in your design with resin helps create that smooth surface to handle your weed and roll up with ease.
Things you can use as a rolling tray
Technically, anything flat and sturdy can be used as a rolling tray. Here are some unconventional household items that you can use as a rolling tray in a pinch:
Rolling tray kits
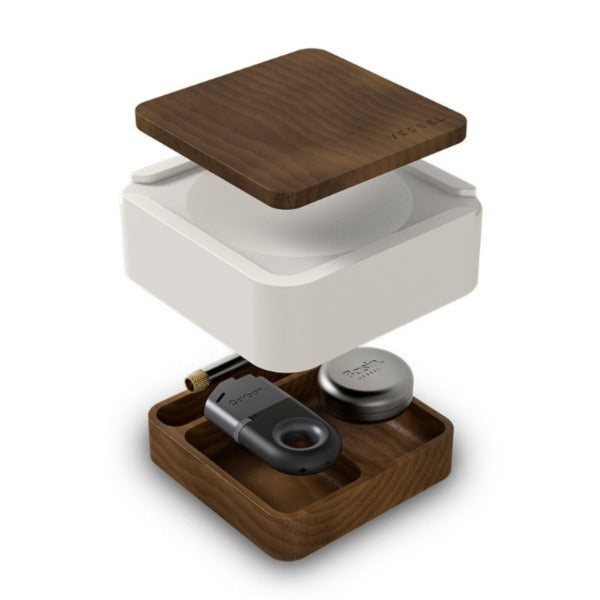
For the ultimate rolling experience, it is helpful to make yourself a rolling tray kit. When you go to roll up, you’ll have all the supplies you need at your fingertips in one convenient location.
- Grinder: For optimum rolling, it is essential to grind your flower into a fine, workable texture. Though any herb grinder will do, it is most helpful to get yourself a three- compartment grinder. Load the flower into the teeth of the top compartment, and grind it into the second compartment. The third compartment is to catch the kief--full of valuable, cannabinoid-packed trichomes--that falls off your flower and through the mesh screen at the bottom of the second compartment.
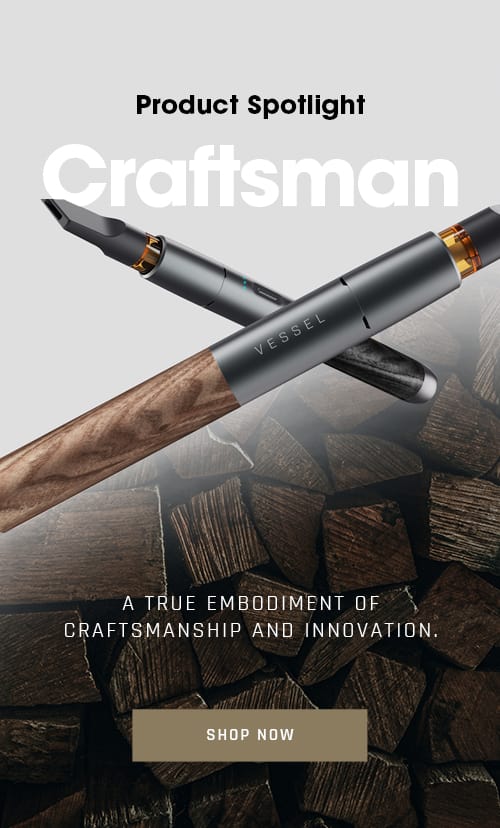
- Lighter:Easily lost in couch cushions or under the bed, designating a space for a lighter among your rolling tray supplies will save you the trouble of searching the house every time you want to roll up. Though the average gas station lighter works well, you may want to treat yourself to a refillable lighter. Thisinverted lighter from Vessel is designed to work both upside down and right side up, giving you the ability to smoke from any position.
- Rolling papers or blunt wraps: Rolling papers are an essential item to keep with your other rolling supplies. Keeping a pack handy with your kit (along with a sleeve of blunt wraps)
- Poker/Packing device:When you are handling dry herb on a rolling tray, it’s helpful to have a small, thin instrument in your rolling tray kit. Whether it’s a poker from the smoke shop or an ordinary household item like a pencil, this tool can come in handy in a number of different ways. Use your packing device to sweep up loose flower, line up the flower on your tray, or pack a little extra weed into your joint or blunt.
To sum it up
Rolling trays are one of the most essential—and yet, underrated—supplies for any smoking enthusiast. Not only do they give you a designated flat surface to roll on, but they’re also perfect for maintaining your dry herb. Rolling trays help to keep your flower in one convenient and neat location until you’re ready to roll again.
Creating a DIY rolling tray can add a personal touch and amplify your smoking experience. For the ultimate streamlined stoner’s dream, take your rolling tray skills one step further by setting yourself up with a kit stocked with all the necessary supplies. (In the meantime, maybe that frisbee in your car can work).


Leave a comment (all fields required)